Leave and Requested RDOs
Overview
This section provides a comprehensive guide on managing leave within the Rasp Employee App. It includes detailed instructions on how to apply for leave, cancel leave requests, and view leave history.
By estimating your leave accrual and taking into account your anniversary date the Leave Balance Details will ensure you will have enough available leave to cover your request.
If taking the leave will you with a negative balance you will not be able to apply for leave.

How to view your leave balances
1. Log in and navigate to the Employee App

2. Click "Leave"

3. Click "Balances"

4. Your leave balances are displayed.

Leave Balance Details
- Balance: Leave balance from the payroll system. This includes the the entitlement balance + the accrued balance - minus leave taken
- Booked: Leave that has been booked in Rasp, is pending or approved, but that has not yet been updated in the payroll system
- Earned: Leave that has been earned in Rasp but that has not yet been updated in the payroll system
- Available: Leave available for booking after accounting for booked and earned leave
- Effective Date: The date on which the leave balance becomes was updated in the payroll systm
How to view your leave requests
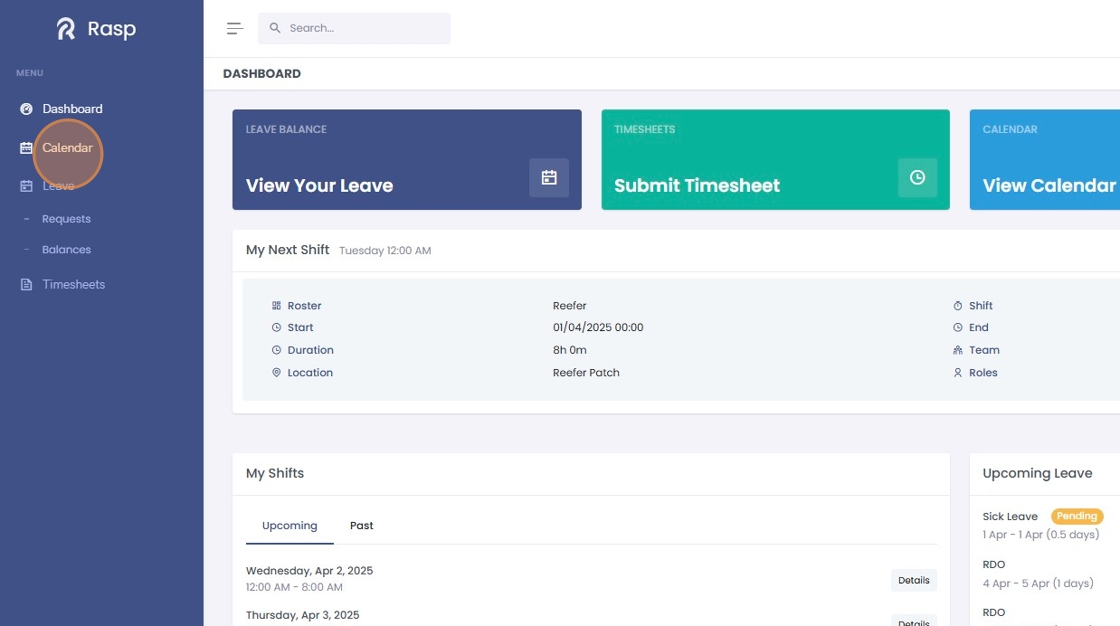
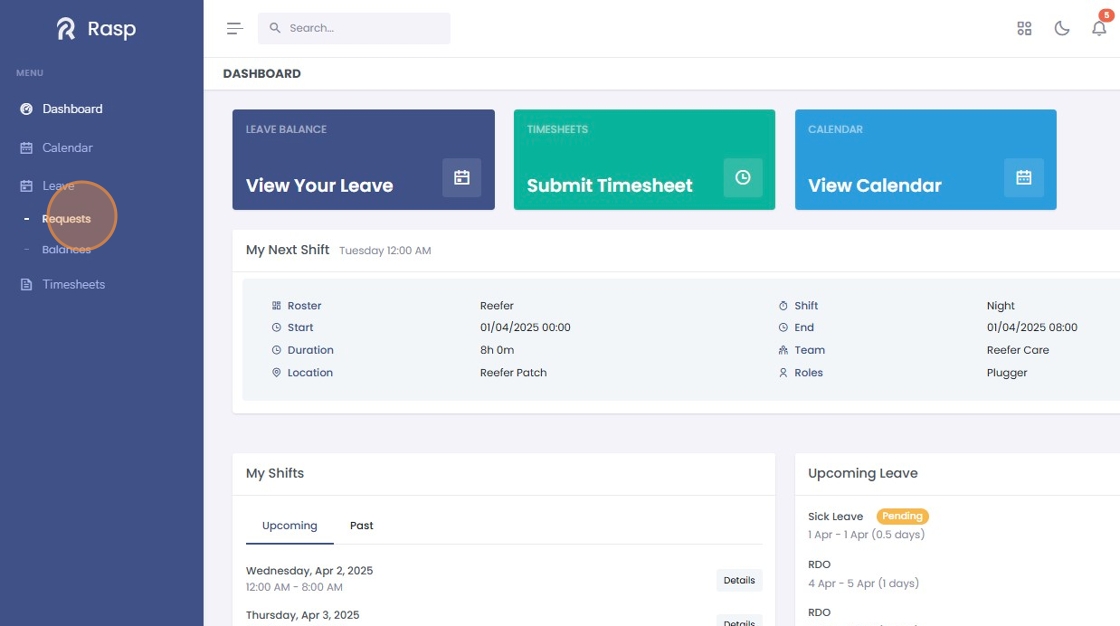
On the dashboard
1. Log in and navigate to the Employee App

2. Your upcoming leave is displayed in the "Upcoming Leave" table

3. Clicking "Details" will open the leave details panel


On your Calendar
1. Log in and navigate to the Employee App
2. Leave is displayed, along with Shifts and RDOs on your Calendar. Click "Calendar" to view it
3. Your leave requests are displayed on your "Calendar" view unless they are cancelled.

Pending leave is displayed is lighter in colour than Approved leave
4. Clicking on a leave card will display the details panel


In the leave request tables
1. Log in and navigate to the Employee App
2. Click "Leave"
3. Click "Requests"

4. Pending and Declined requests are shown on the "Upcoming and Pending" tab

5. Leave requests that are Approved, Cancelled and Processed are displayed in the "Completed Requests" tab


How to apply for full day(s) of leave
1. Log in and navigate to the Employee App

2. Click "Leave"
3. Click "Requests"

4. Click "Apply for Leave"

5. Select the leave type

6. Click the calendar icon to specify the date or date range for your request

The number of days section will looks at your work pattern to calculate your leave days.
Leave requests must include at at least one work day

By estimating your leave accrual and taking into account your anniversary date the Leave Balance Details will ensure you will have enough available leave to cover your request.
If taking the leave will you with a negative balance you will not be able to apply for leave.
7. Add a comment to your manager if required.

8. Click "Add Leave"

9. Your leave request had been created. It will show as Pending until it is either approved, declined, or cancelled.

How to apply for a half day of leave
1. Log in and navigate to the Employee App

2. Click here.

3. Click "Leave"

4. Click "Requests"

5. Click "Apply for Leave"

6. Select the type of leave to apply for

7. Select "Half Day" for leave duration

8. Use the date picker to select the date of your requested leave

9. Set the start time of your leave

The duration of the leave is half of your ordinary working hours for that date. The end time is calculated and displayed beneath the start time.

10. Add a comment if desired

11. Click "Add Leave"

12. Your leave request has been submitted to your Leave Manager for approval. It will appear as Pending until it is Approved, Declined or the request is Cancelled.

How to cancel leave
1. Log in and navigate to the Employee App

Leave can be cancelled from any of the leave views i.e. on the Dashboard Upcoming Leave table, on your Calendar or from the Leave module.
2. Click "Leave"

3. Click "Requests"
4. Click "Details"

5. Click "Cancel Leave"

6. Add a comment if required

7. Click "Cancel Leave"

8. Click "Completed Requests" to view your cancelled request


How to request a rostered day off (RDO)
1. Click "My Leave"

2. Click "Apply for Leave"

3. Select the date or dates you wish to apply for RDOs on

4. Click this text field.

5. Select "RDO" as the "Leave Type"

6. Enter a comment if required.

7. Click "Add Leave"

8. The RDO request has been created and sent to your Leave Manager for approval.
