Bill of Labour
Overview
The "Bill of Labour" (BOL) is primarily used to streamline shift creation. Bill of labour templates can be created allowing multiple shifts to be rostered as a batch.
The time settings defined in the initiating shift are automatically applied to all shifts generated from the BOL.
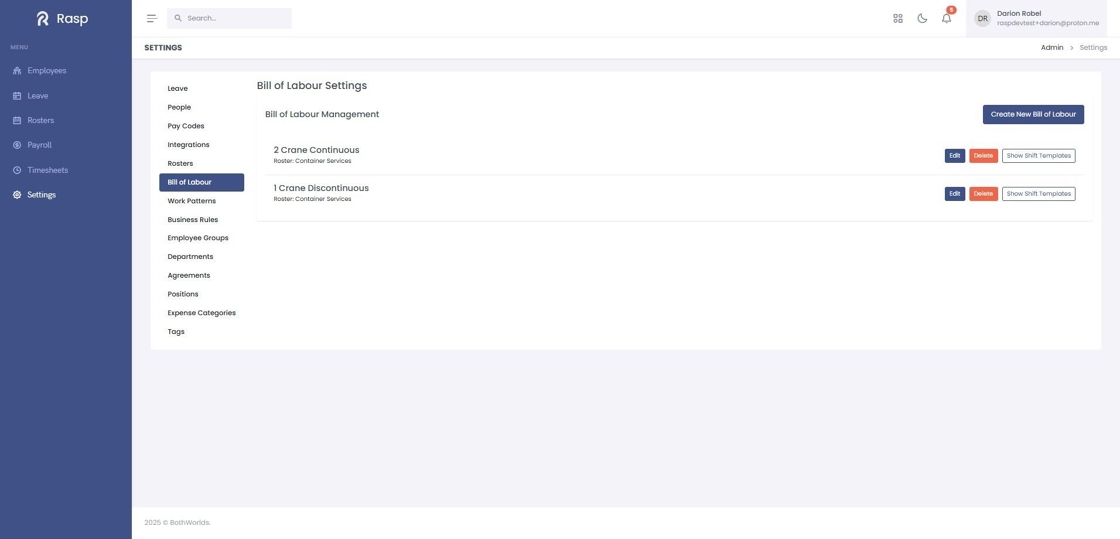
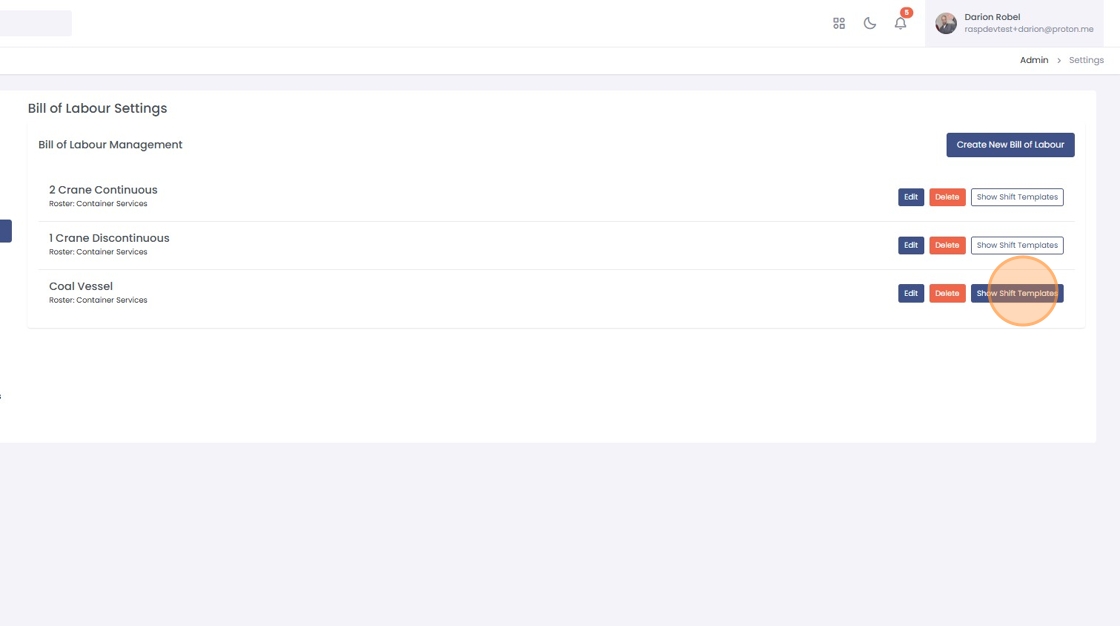
How to view the Bill of Labour list
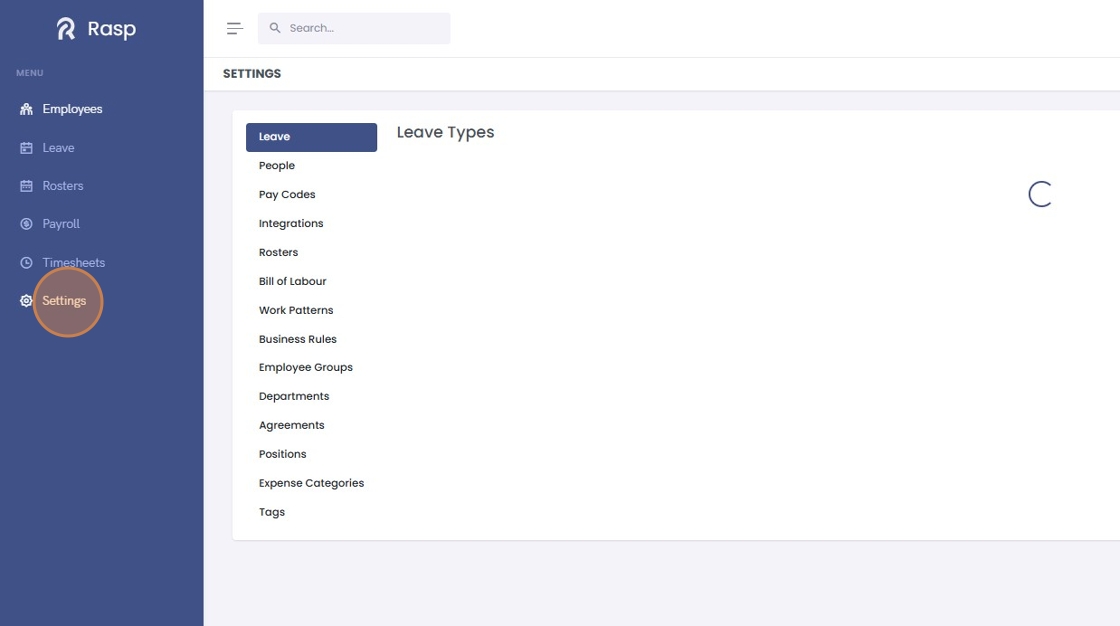
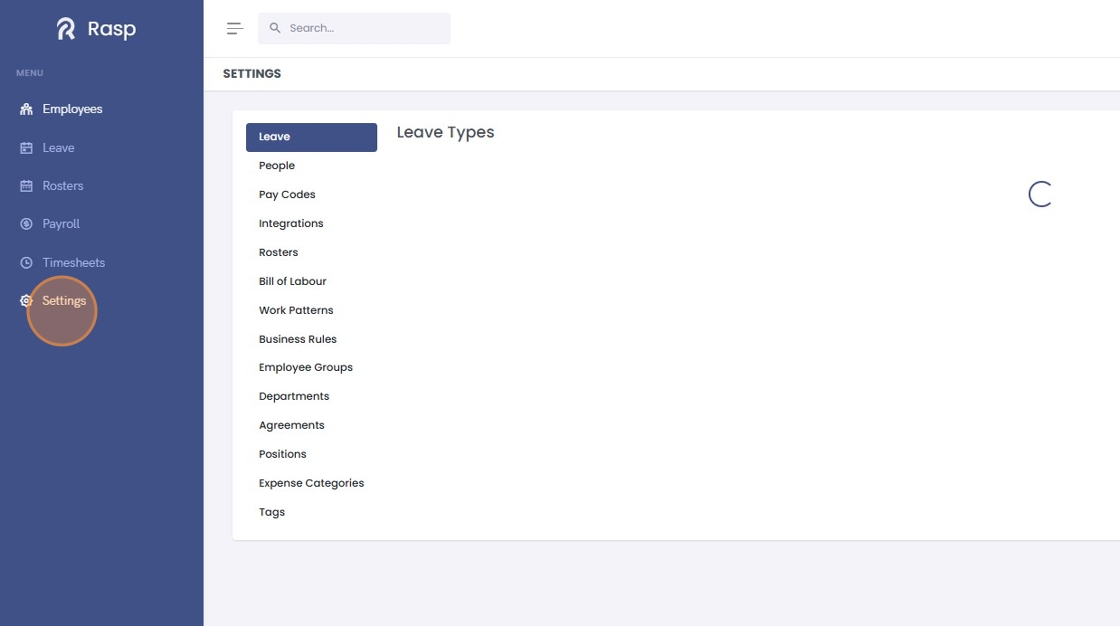
1. Log in and navigate to the Admin App

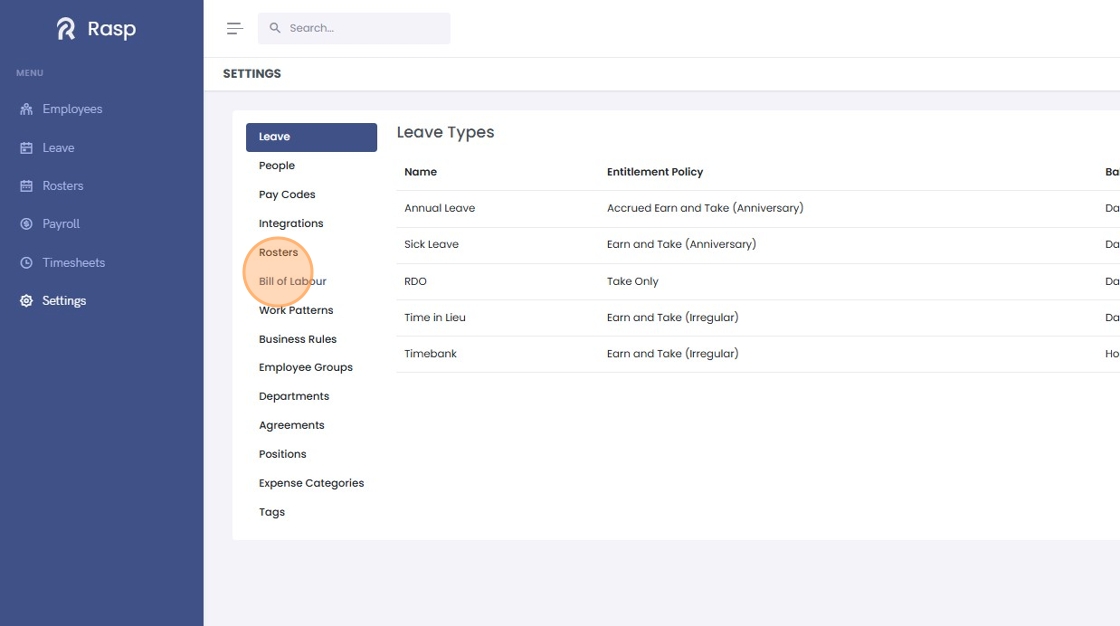
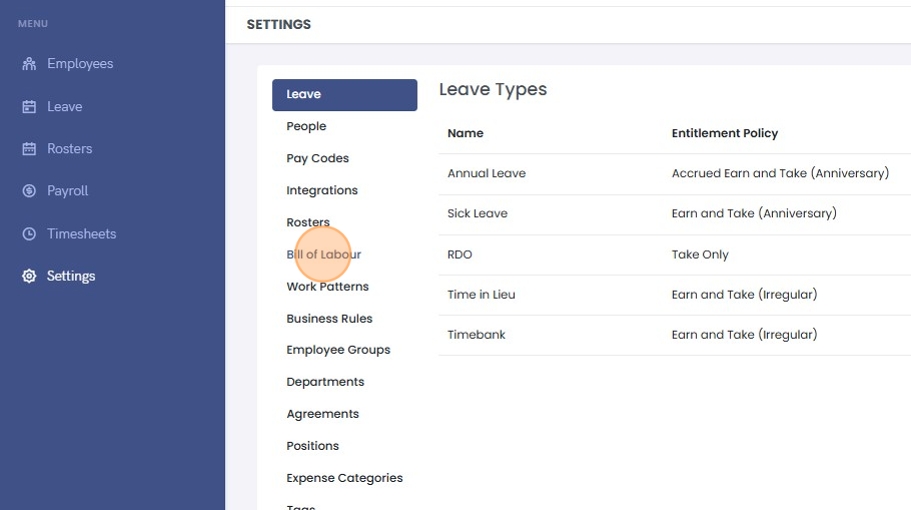
2. Click "Settings"
3. Click "Bill of Labour"

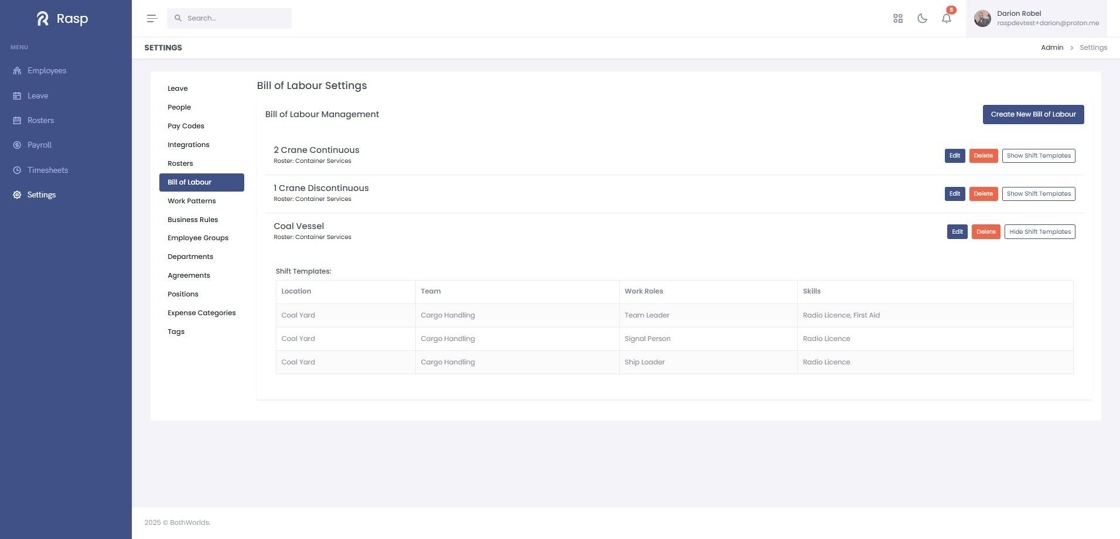
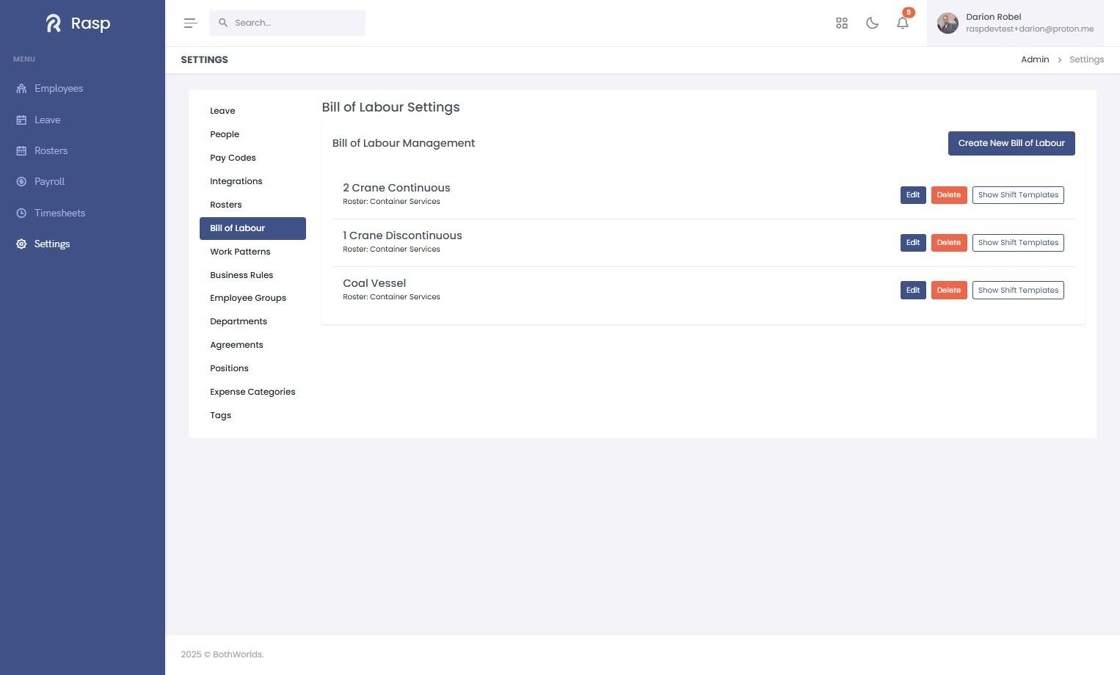
4. The Bill of Labours for the organisation are displayed in a list.
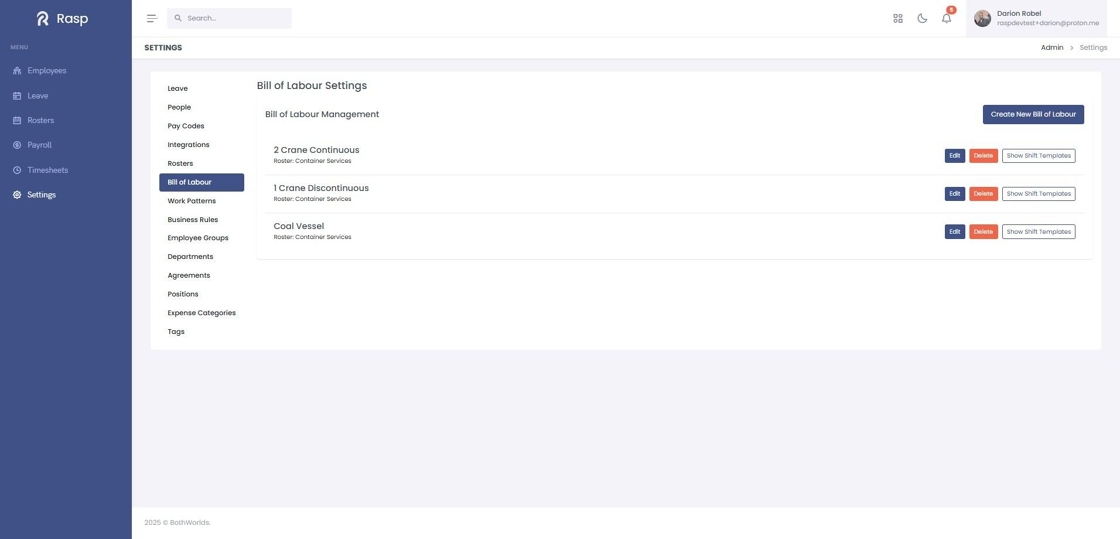
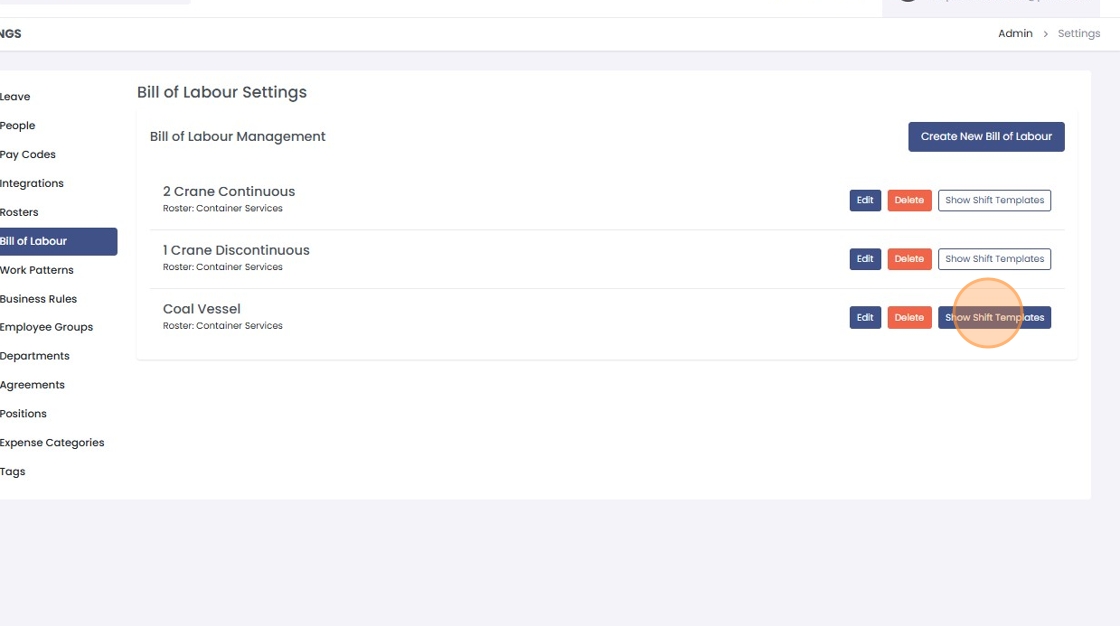
5. Click "Show Shift Templates" to see the details of shifts in the BOL.
6. Each shift the BOL will create is on a separate row in table.
How to add a Bill of Labour
1. Log in and navigate to the Admin App
2. Click "Settings"
3. Click "Bill of Labour"
4. Click "Create New Bill of Labour"
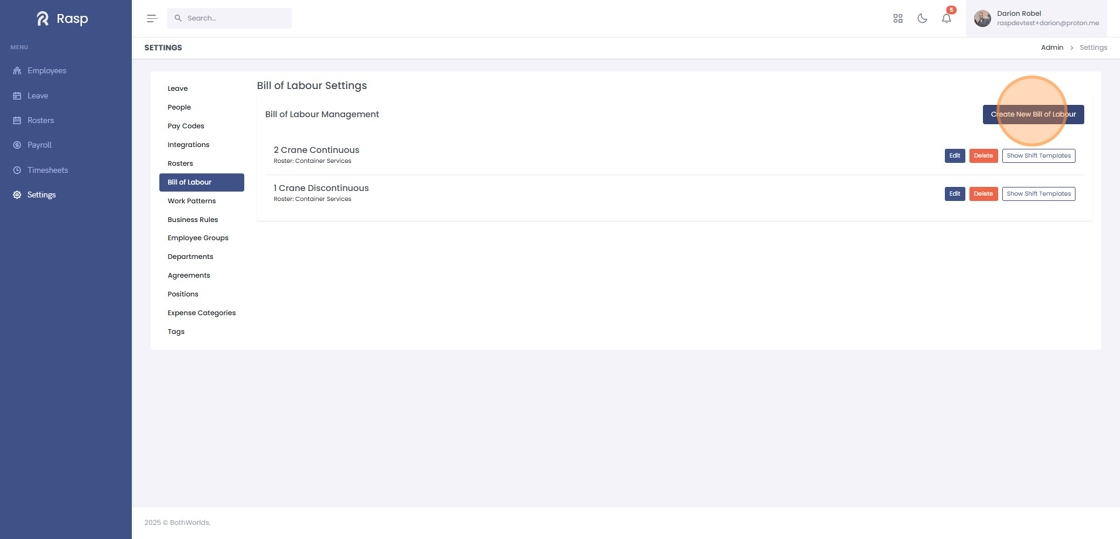
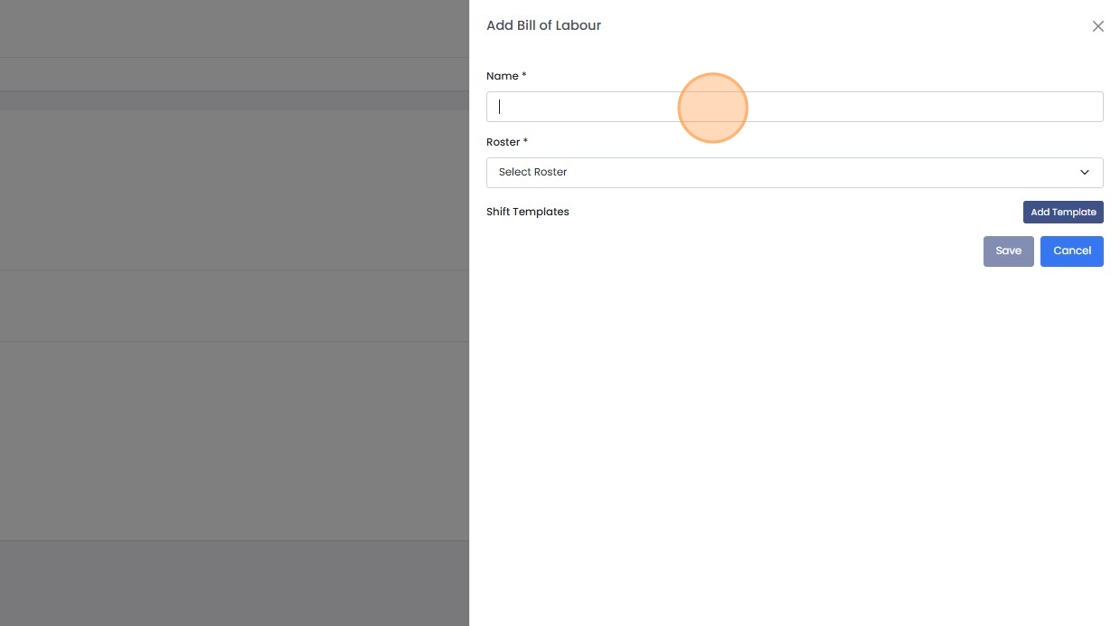
5. Give your Bill of Labour a "Name".
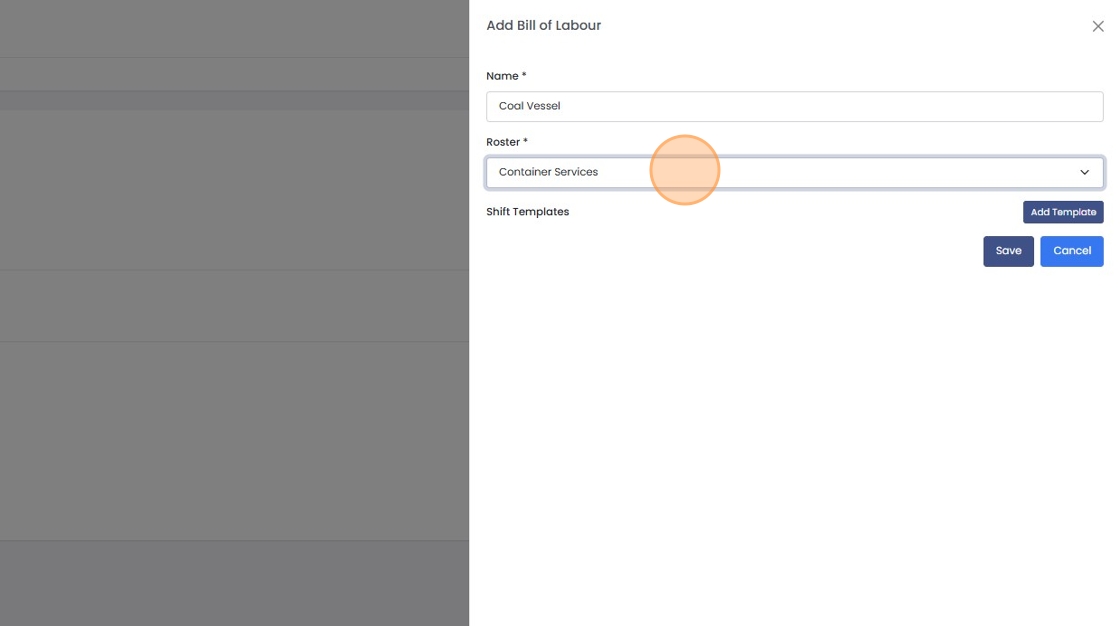
6. Select the "Roster" that the Bill of Labour applies to.
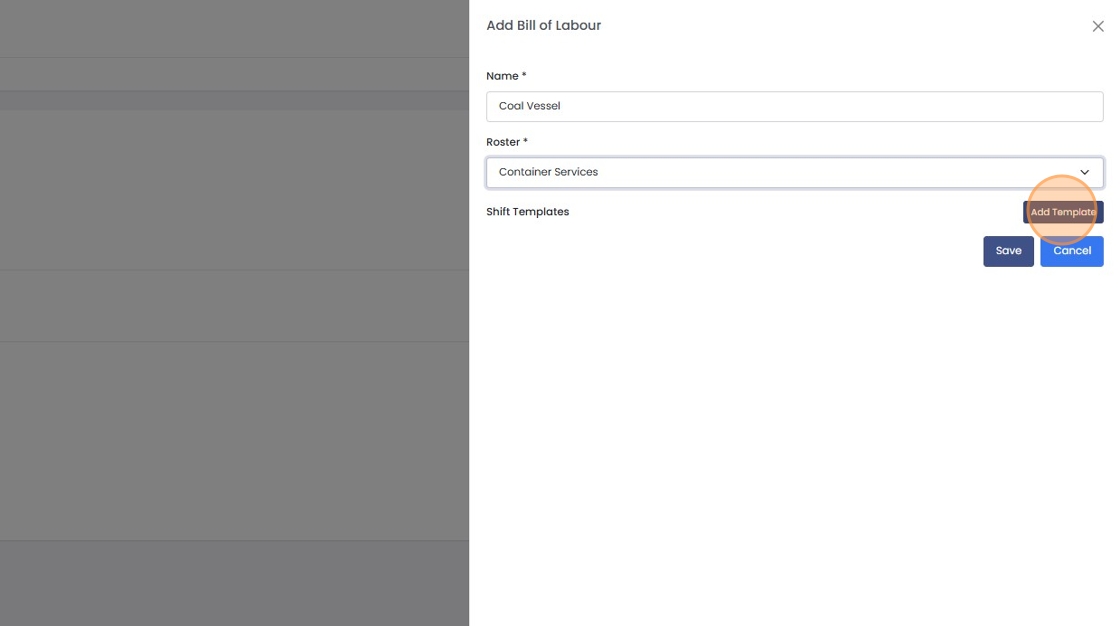
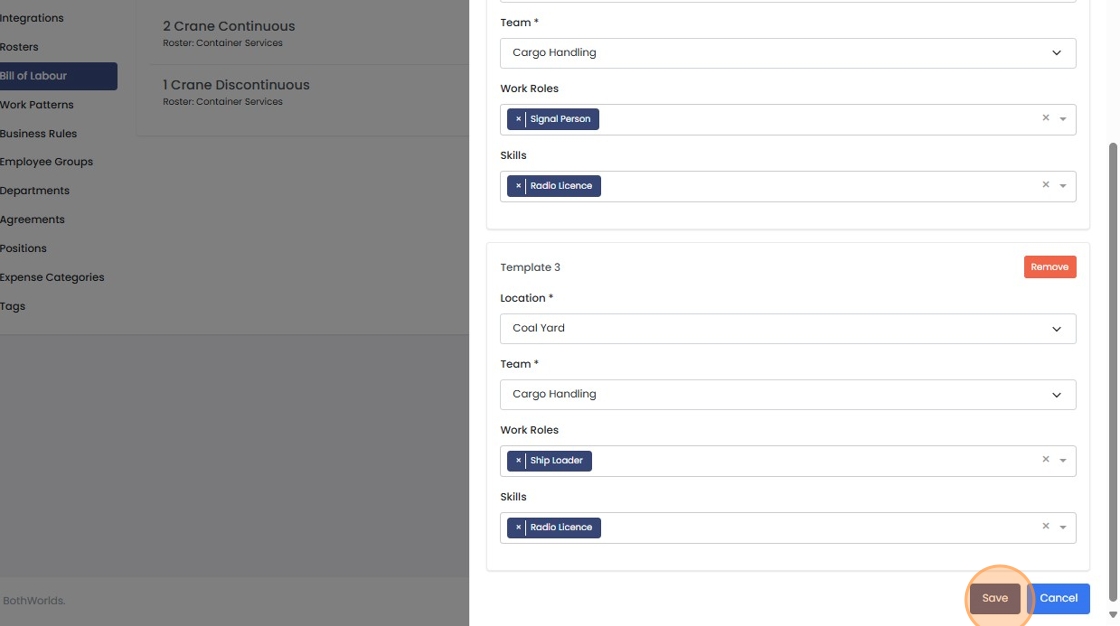
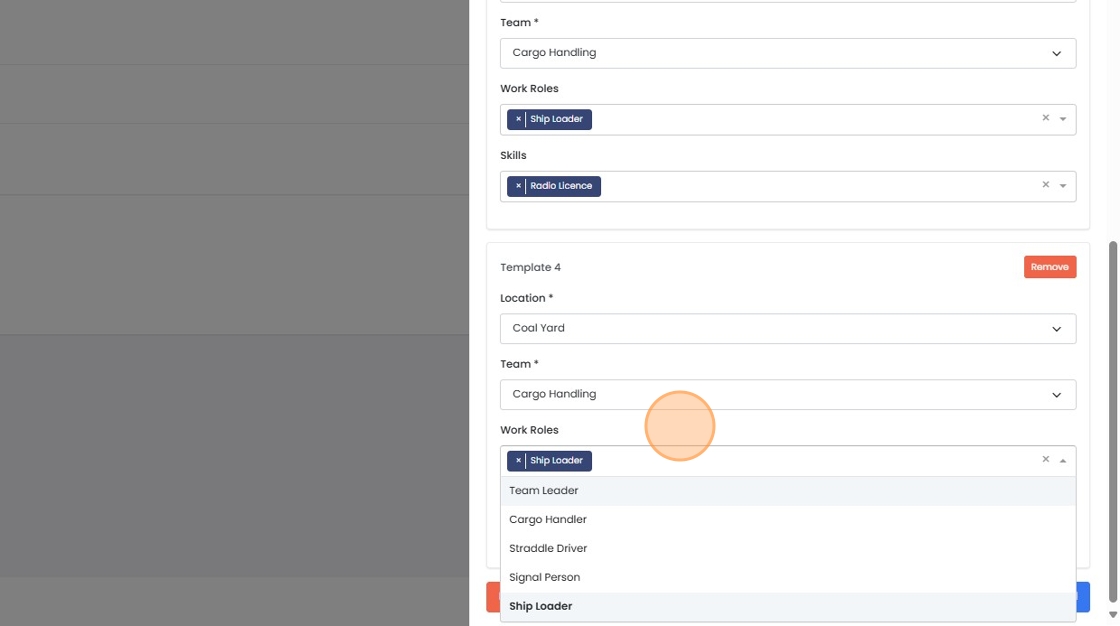
7. Click "Add Template" to add your first shift template.
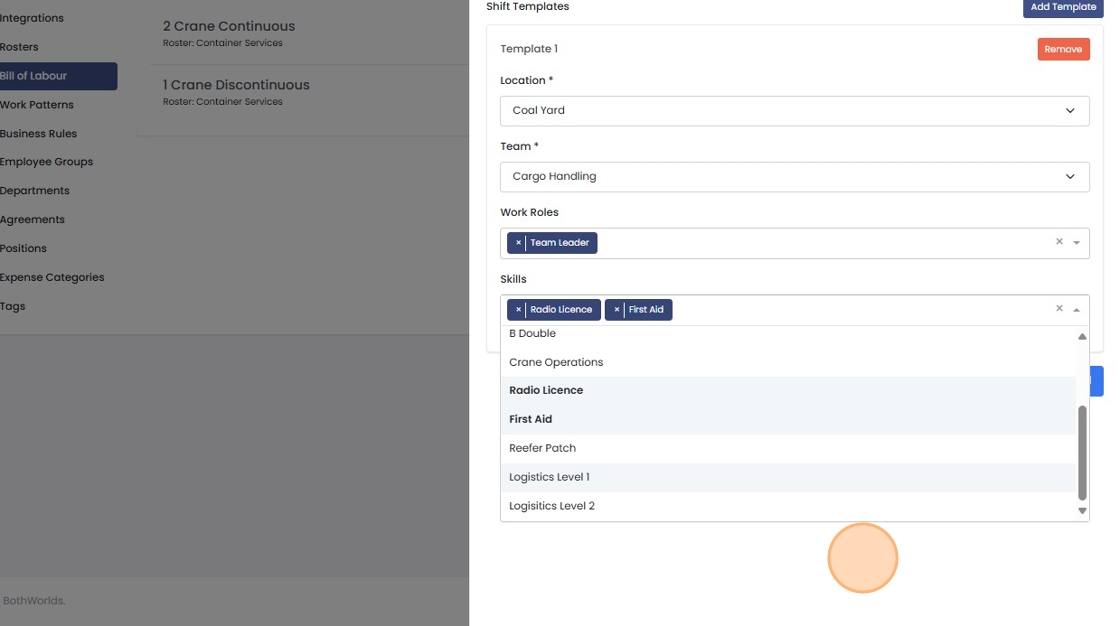
8. Set the "Team", "Work Roles" and "Skills".
9. Repeat steps 7 & 8 to create as many shift templates as required.
10. Click "Save"
11. Your Bill of Labour has been added.
12. Click "Show Shift Templates", to see a list of the shifts in the Bill of Labour.
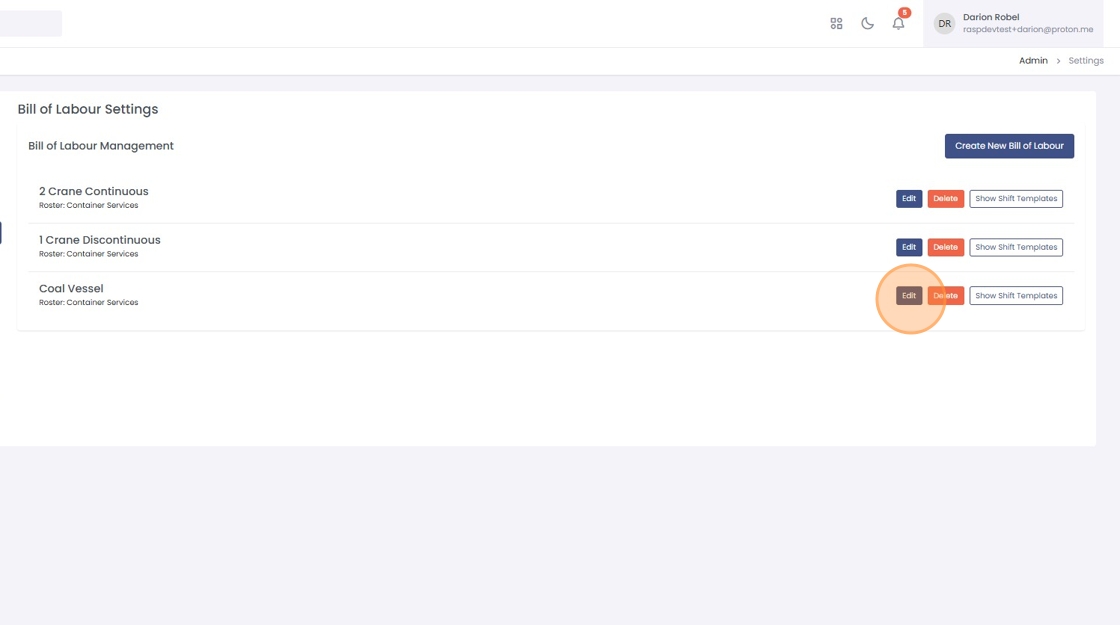
How to edit a Bill of Labour
1. Log in and navigate to the Admin App
2. Click "Settings"

3. Click "Bill of Labour"
4. Click "Edit"
5. Rename the BOL and edit the shift templates as required
6. Click "Save"

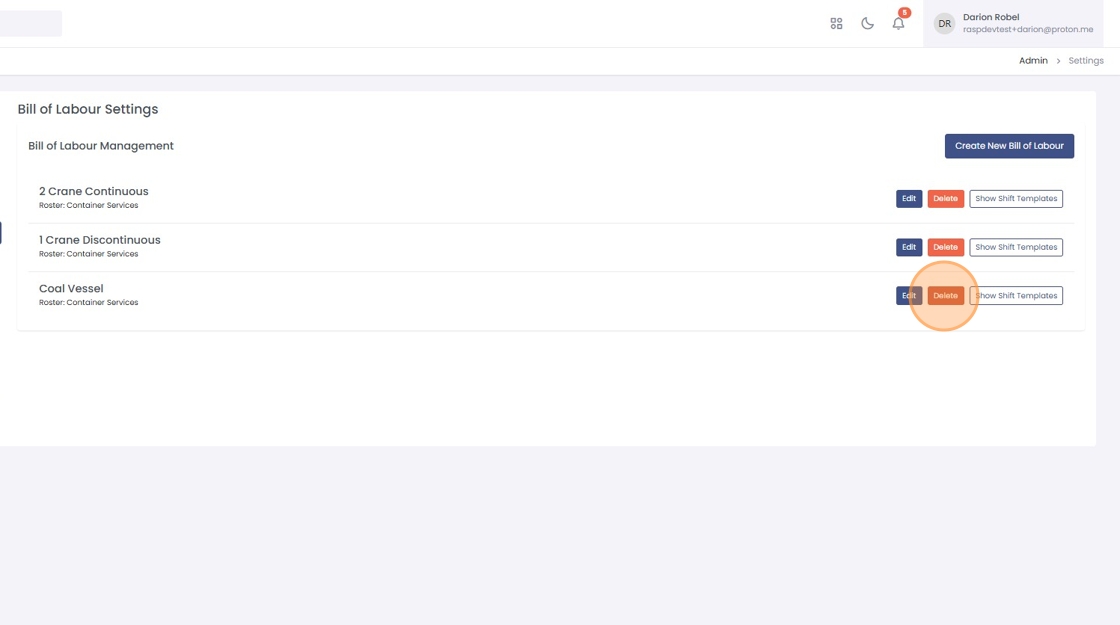
How to delete a Bill of Labour
The shifts that have already been generated from the Bill of Labour will not be affected.
1. Log in and navigate to the Admin App
2. Click "Settings"
3. Click "Bill of Labour"
4. Click "Delete"
5. Click OK on the confirmation message and the BOL will be permanently removed.